


[ad_1]
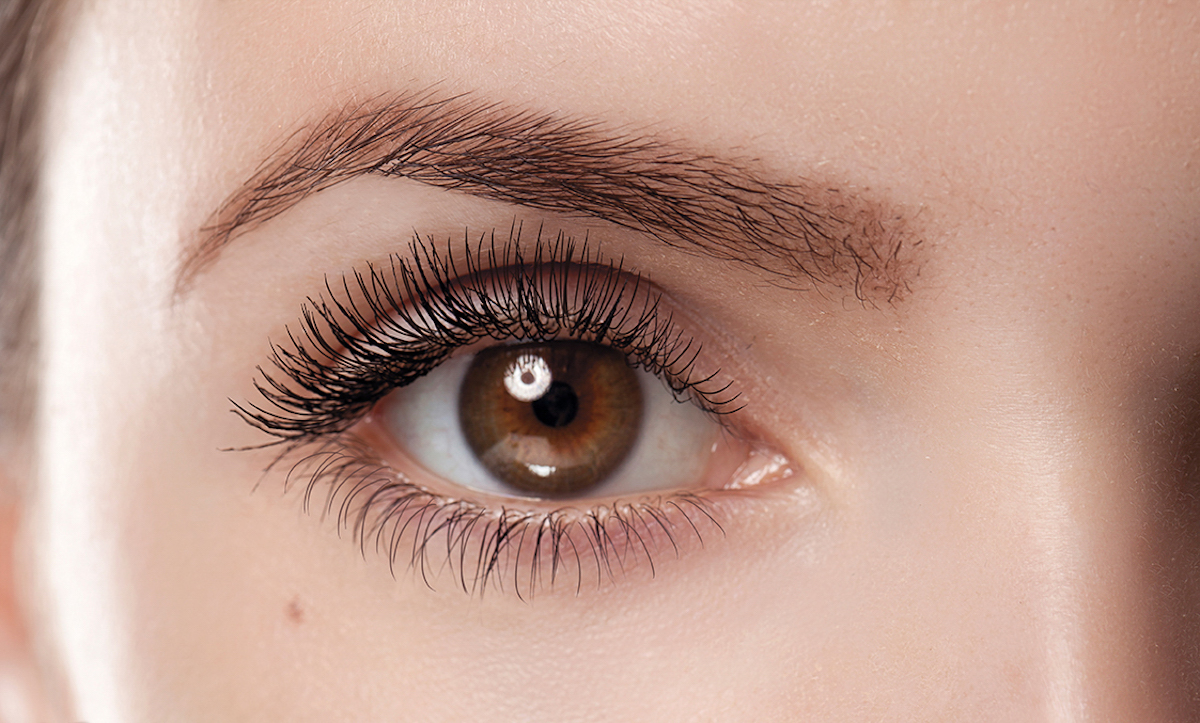
Eyelash extensions make your eyes look beautiful. However, they’re not permanent and need to be taken off eventually. This is important because the natural eyelashes grow and fall out over time, and removing extensions helps keep our real lashes healthy. Removing them safely involves some steps, like using special tools, working in a clean area, and using a remover to loosen the extensions. In this article, you will Learn How to Safely Remove Eyelash Extensions. You will also find out why it’s advantageous to entrust this process to an experienced eyelash technician at a specialized salon.
Step 1: Gathering the Essential Tools
Proper removal begins with the assembly of the following tools:
Eyelash extension adhesive remover: Utilized to break down and dissolve the adhesive bonding of the extensions.
Microfiber brushes: Delicate brushes designed for eyelash extension work.
Under-eye gel pads: Applied to protect the lower lashes and the delicate skin around your eyes.
Isopropyl alcohol: Used for cleaning and sterilizing the tools.
Magnifying glasses with LED lighting: Enhance visibility during the procedure.
Step 2: Preparing the Workspace
Creating an optimal workspace is crucial. Maintain a clean and sterile environment to prevent any potential infections.
Step 3: Application of Adhesive Remover
Using microfiber brushes, apply a specialized eyelash extension adhesive remover precisely along the lash line where the extensions are attached. Care must be taken not to allow any of the remover to come into contact with the eyes.
Step 4: Patient Waiting
The adhesive remover requires sufficient time to weaken the bond between the extensions and natural lashes. Typically, this process takes approximately 5-10 minutes, during which you’ll observe the extensions naturally loosening.
Step 5: Gentle Extension Removal
Once the extensions begin to loosen, employ microfiber brushes to delicately detach them from the natural lashes. A slow and gentle approach is essential to prevent any unnecessary stress or damage to the eyelashes.
Step 6: Cleaning and Sterilizing
After successful removal, use isopropyl alcohol to sterilize all tools and brushes. Hygiene is paramount in preventing any potential infections.
Step 7: Hydration and Protection
Complete the procedure by applying hydrating products to the natural lashes and providing aftercare recommendations.
The Advantages of Professional Eyelash Technicians
Although you can follow the steps mentioned above to remove eyelash extensions by yourself at home, there are many benefits to having a skilled eyelash expert at a certified salon do it for you:
Specialized Expertise
Eyelash technicians undergo rigorous training to develop a deep understanding of lash extensions and their proper removal. They possess the skills to work with various lash extension types and employ specialized products effectively.
Mitigated Risk of Damage
Professionals excel in the art of eyelash extension removal, minimizing the risk of harm to natural lashes. Their expert touch ensures that common issues such as pulling or the use of inappropriate products are avoided.
Strict Hygiene Standards
Eyelash extension salons adhere to stringent hygiene and sanitation protocols, reducing the possibility of infections or complications arising from unsanitary conditions.
In summary, the removal of eyelash extensions, though seemingly straightforward, requires precision and care to protect natural lashes from harm. While it’s good to Learn How to Safely Remove Eyelash Extensions at home, entrusting a skilled eyelash technician at a reputable salon offers numerous benefits. From specialized expertise and minimized risk to stringent hygiene standards and personalized guidance, professionals ensure a secure and comfortable eyelash extension removal experience.
[ad_2]
Source link